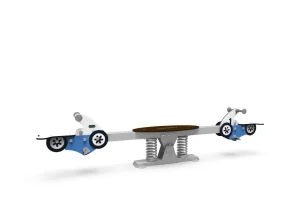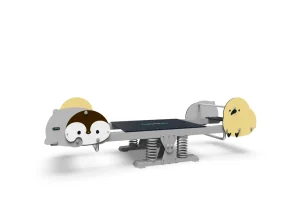
Spring rider base plates carry a different load profile in wind zones than they do in sheltered playgrounds. The spring stores motion, but the base plate receives every lateral and overturning force the structure cannot dissipate. In coastal parks, hilltop playgrounds, and open school yards, surface mounted plates can loosen, tilt, or crack surrounding paving within a few seasons. Concrete anchoring transfers those same loads into a buried mass that resists movement. This article explains why concrete footings are the safer default for wind exposed sites, when surface mounting is still acceptable, and what verification points matter before a spring rider enters service.
The Load Path Difference Between Concrete Anchoring and Surface Mounting
A spring rider base plate looks simple from the outside. The visible part is a steel plate bolted to the spring assembly. Underneath is where the load path splits. With surface mounting, anchor bolts fasten the plate to a slab or paving layer that may be only a few centimeters thick. The plate resists uplift and lateral movement through that thin layer. With concrete anchoring, the plate is set over a footing or embedded bolts are cast into a concrete mass that extends below the surface. That mass works against the surrounding soil.
Wind does not push evenly on a spring rider. It pushes against the body, the handlebar, and any themed shell, creating a repeating side load. As a child rocks, the spring adds a dynamic force in the same direction. The combination can produce a slow ratcheting effect at the plate edge. Surface mounts often fail by pulling out one anchor, chipping the slab, or allowing the plate to flex enough to loosen all four bolts over time. Concrete anchors usually fail only when the footing itself is undersized or the bolts are placed too close to the edge.
| Condition | Surface mounting on slab | Concrete anchoring in footing |
|---|---|---|
| Load transfer | Anchor bolts rely on slab thickness and concrete strength | Bolts or cast-in anchors transfer load to a deeper mass |
| Typical failure mode | Pullout, slab cracking, plate edge lifting | Foundation uplift only if footing is undersized |
| Repair | Patching slab rarely restores full anchor strength | Replacing bolts may be possible without concrete demolition |
| Maintenance | Frequent torque checks required after wind events | Less movement; periodic torque checks still needed |
The decision is not simply concrete versus no concrete. It is about where the load path ends. In a wind exposed location, the load path should end in a footing with enough mass and edge distance to keep the base plate from moving before the spring reaches its designed range.
Foundation Design Inputs for Wind Exposed Spring Rider Base Plates
Before a footing is poured, three site conditions should be confirmed: the wind zone classification, the soil bearing condition, and the relationship between the base plate hole pattern and the anchor plan. A footing that is strong enough in clay may be marginal in loose sand. A base plate that specifies four M12 anchors will not perform the same as one with a larger bolt circle and thicker plate, even if both meet a general playground standard.
Soil and embedment parameters
Foundation depth should follow local structural requirements for wind load, not a generic playground rule of thumb. In practice, our design team treats the spring rider as a small cantilever structure. The embedment depth is checked against overturning, and the footing diameter is checked against soil bearing pressure. In soft or sandy ground, a wider footing usually outperforms a deeper narrow hole because it spreads uplift resistance over a larger wedge of soil.
Anchor bolt pattern and base plate thickness
The base plate bolt pattern determines the lever arm each anchor has against the plate edge. If the bolts are set too close to the plate center, the plate can deform around the fasteners. If the plate is too thin, it can flex under repeated wind and rocking loads even when the footing is sound. Our production team reviews the plate thickness, hole spacing, and weld quality before shipping, but the site anchor layout must match the supplied template rather than a field-modified pattern.
Concrete specification and curing before equipment installation
Spring riders should not be installed the day the concrete is poured. Early loading can crack the concrete around the anchor bolts and reduce pullout capacity. Our installation guidance calls for the concrete to reach sufficient strength before the spring assembly is bolted down. The exact curing period depends on the mix design and temperature, but it is a verification point that should appear in the site inspection record.
Installation Checks That Separate a Stable Base Plate From a Future Hazard
After the equipment is set, the following checks should be completed before the surfacing is closed up. These checks are easier to do when the footing is exposed and the contractor is still on site.
Bolt torque and edge distance
Each anchor bolt should be tightened to the manufacturer’s specification, then rechecked after the spring has been cycled a few times. Edge distance matters because a bolt too close to the concrete edge can split the footing under load. We look for a consistent gap between the base plate and the concrete surface; if the plate does not sit flat, tightening the bolts can introduce bending stress.
Alignment and level
A tilted base plate changes how the spring rebounds. The rider may lean in one direction, and the child’s weight can add a horizontal force that the foundation was not designed to resist. Leveling should be done with shims or grout rather than by over-tightening one side of the plate. The finished plate should sit flush enough that water does not pool around the spring base.
Surfacing interface
The safety surfacing around a spring rider base should be installed so it does not trap water against the plate or cover the bolt heads. If the surfacing is too high, it can hide early movement. If it is too low, the plate edges become a trip point. The fall height of the spring rider and the surfacing depth are separate checks; both must be confirmed together.
Concrete embedment checks belong in the same final sign-off as surface and clearance checks. <12 Critical Post Installation Acceptance Tests for Playgrounds> covers 12 acceptance points that should be completed before the playground opens.
If your site is on a hilltop, near the coast, or otherwise exposed, confirm the embedment depth and bolt spacing against the spring rider base plate dimensions before finalizing the order. Send the equipment model and the site wind zone to [email protected], and we can cross-check the foundation details with the production drawings.
Where Surface Mounting Can Still Work
Surface mounting is not automatically wrong. It can be appropriate in an interior playroom, a protected courtyard, or a temporary installation where the slab is thick, the wind exposure is low, and the site owner accepts more frequent hardware checks. The issue is that many sites are classified as standard playgrounds but behave like wind zones because they sit on a hill, face an open field, or have no surrounding structures.
When we review a surface mounted application, we ask whether the slab thickness and concrete strength are documented. A thin decorative paving layer is not the same as a structural slab. We also ask whether the anchor bolts are chemical anchors, expansion anchors, or cast-in anchors. Cast-in anchors generally offer a more reliable pullout path in a structural slab, but the slab must have enough depth and edge distance to use them properly.
Surface mounting can also make sense for seasonal installations. Some operators want to remove equipment during storm season or rotate play equipment for programming. In that case, the base plate should be designed with removable bolts and a clear re-torque procedure, and the mounting points should be inspected before the equipment returns to service.
When to Replace an Existing Surface Mounted Spring Rider
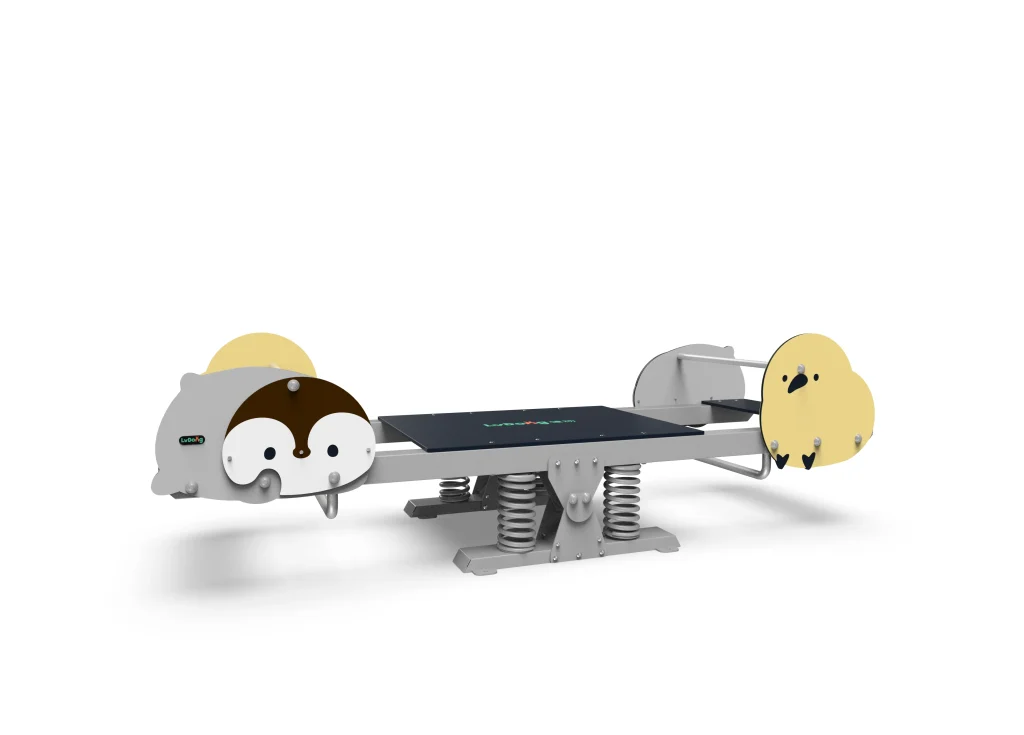
Existing surface mounted spring riders in wind zones should be evaluated, not assumed unsafe. The first thing to check is whether the base plate has moved. Scrape away any surfacing and look for bright steel, cracked concrete, or a gap under the plate. If a bolt turns easily, the anchor is already failing. If the plate can be rocked by hand, the foundation is no longer doing its job.
In our design reviews, we treat three observations as replacement triggers: visible plate movement under hand load, cracked concrete radiating from any anchor, and a spring rider that has pulled out of level by more than a small amount. Small movements can be re-torqued and monitored. Larger movement usually means the anchor has lost its bond, and tightening the bolt will not restore it.
When replacement is justified, the new installation should move to concrete anchoring rather than repeating the same surface mount. The old anchor holes should be cut out or abandoned, and the new footing should be placed so it does not load the weakened area. A fresh concrete footing with cast-in anchors gives the site a clean load path and a clear inspection record.
A loose anchor bolt is easier to find when the inspection routine includes a deliberate hardware pass. <Playground Equipment Safety Self-Inspection Checklist> includes the items operators can check without removing equipment.
If your playground is in a mapped high wind zone, or if a surface mounted spring rider has already shown loose anchors or cracked concrete, the next step is to confirm the foundation rather than guessing from photos. Send the site wind zone, the spring rider model, and a photo of the base plate area to [email protected] or WhatsApp +8613915684545, and we can review the anchor layout against the equipment requirements before the contractor opens the ground.
Common Questions About Spring Rider Base Plates in Wind Zones
How deep should the concrete footing be for a spring rider in a wind zone?
There is no single depth that covers every site. The required depth follows the local wind load calculation, soil condition, and the base plate anchor pattern. For a compact single-user spring rider, the footing often extends below the frost line and into undisturbed soil, but the controlling check is resistance to overturning rather than frost alone. A shallow but wide footing may work in one soil, while a narrow deep footing may be needed in another. The manufacturer’s installation drawing should be confirmed against a site-specific calculation before concrete is poured.
Can a surface mounted spring rider be retrofitted with concrete anchors?
It is sometimes assumed that drilling larger bolts through the same slab will solve a wobbling spring rider. That usually weakens the surrounding concrete. A retrofit can work if the slab is thick enough and the new anchors are placed far enough from the existing holes. If the concrete is cracked or the plate has deformed, a new footing is the safer route. The old holes should be abandoned, not reused, because their surrounding concrete has already been stressed.
Does concrete anchoring make it harder to move the spring rider later?
It depends on how the anchor is detailed. Cast-in anchors make later removal more involved, but they provide the most stable load path. A removable bolt-and-sleeve system can be used when the site owner wants to relocate the equipment or store it during storm season. The tradeoff is maintenance discipline: removable anchors need a re-torque schedule and a clear record of which sleeve matches which bolt. For permanent playgrounds, the ease of a future move should not outweigh stability in the current location.
What are the first signs that a spring rider base plate is failing?
In our design reviews, the first sign is usually a gap between the base plate and the ground on one side. Hand rock the rider and watch the plate edge. If it lifts, the anchor or footing is no longer holding the full load. Other signs include cracked concrete radiating from a bolt, rust staining that appears after rain, and a rider that no longer returns to center. Any one of these justifies removing the surfacing and checking the anchor condition before the equipment is used again. If you find any of these signs, send a photo and the model number to [email protected] and we can confirm whether re-torquing or refooting is the appropriate path.
If you’re interested, check out these related articles:
8 Essential Certifications for Playground Equipment Manufacturers
Choosing a Soft Play Specialist Indoor Playground Equipment Expertise
Global Import Regulations for Playground Equipment by Country
DIY vs Supplier Playground Equipment Installation Guide
To discuss spring-rider base-plate and foundation requirements, contact the LvDong team with your project requirements.