Effective playground equipment layout planning isn’t just about arranging structures on a site map—it’s a collaborative process between buyer and manufacturer that begins long before the first post is set. When playground owners involve an experienced manufacturer from the earliest stage, they gain technical insights on equipment dimensions, safety clearances, and modular design options that prevent expensive rework. I’ve seen this across more than 1,500 installations for parks, schools, and communities. The most successful outcomes happen when the manufacturer’s production and design teams work alongside the project owner to translate site conditions into a layout that balances play value, safety compliance, and practical construction logistics.
Assess Your Site’s Conditions and Requirements
A reliable layout starts with understanding the physical site. Measure the available area, identify any slopes, note underground utilities, and map existing drainage paths. Sun orientation matters for metal components, while surrounding paths and shade cover influence traffic flow and user comfort. In many projects we’ve supported, early attention to site boundaries and soil type helped avoid later surfacing or stability issues. Document these conditions before reaching out to any supplier. A clear site brief, even a rough sketch with measurements and photos, gives the manufacturer a solid starting point to propose equipment placements that fit the available space without compromising access or safety zones.
Select Playground Equipment That Fits Your Layout Goals
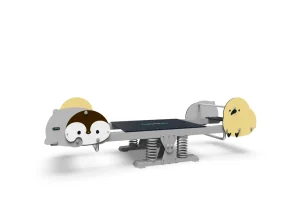
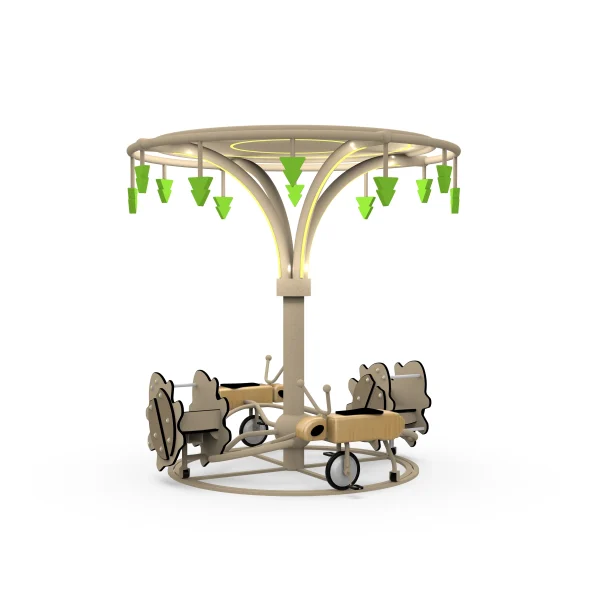
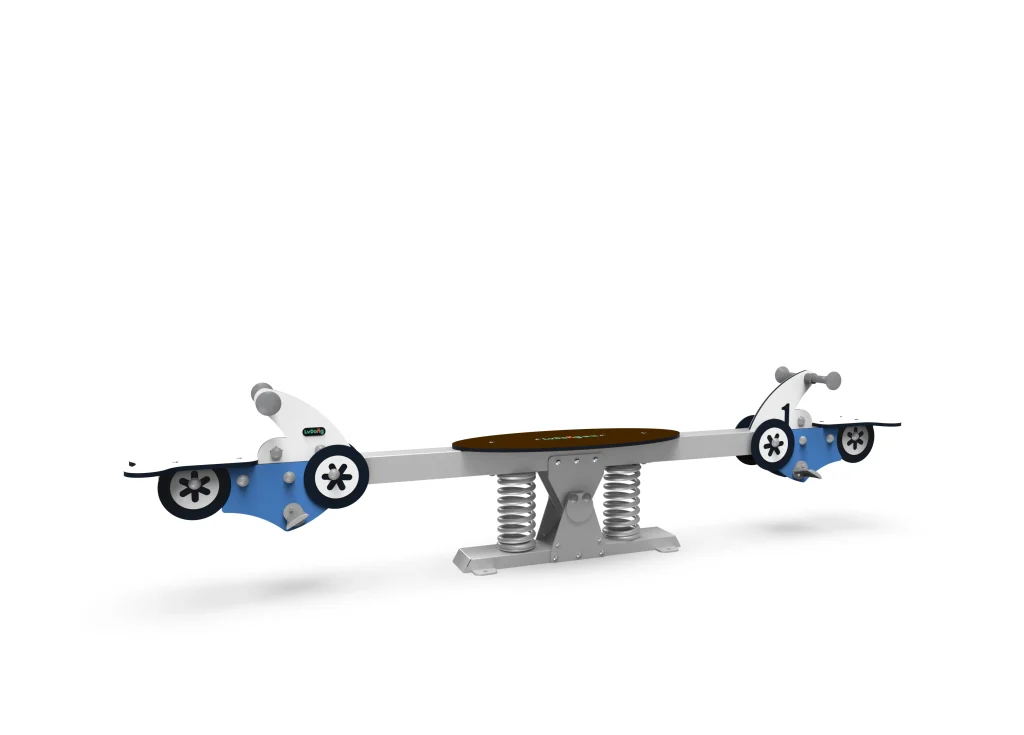
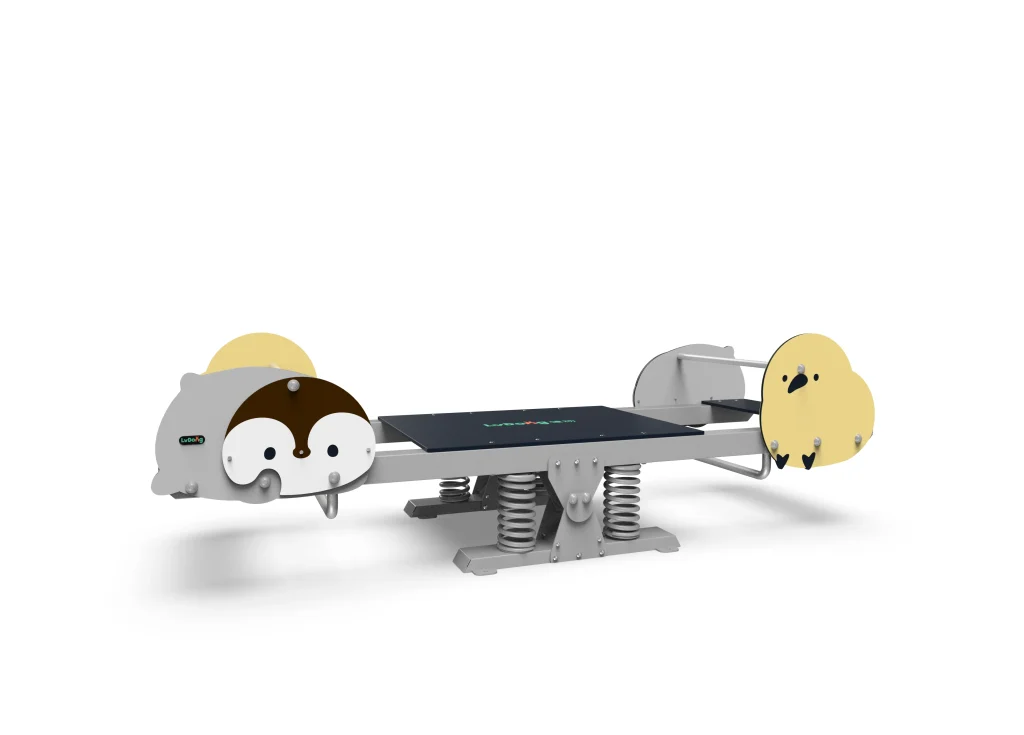
Equipment choice shapes the layout as much as the site does. Think beyond individual products and consider how different activity types work together in a limited footprint. Standard commercial playground equipment often includes swings, slides, spinners, seesaws, and spring riders, each with its own fall zone and clearance needs. The product library at Suzhou LvDong, for example, includes multi-player spinning wheels, single-player spinners, and multi-person seesaws built to recognized safety standards. When comparing options, look at user capacity and age range, not just appearance. A multi-player spinner that accommodates six to ten children often uses less surface area than several single-user items while delivering higher play capacity.
The table below illustrates typical dimensions and age suitability for a few popular equipment categories:
| Equipment Type | Typical Age Range | Approximate Footprint (cm) | User Capacity |
|---|---|---|---|
| Multi‑player spinning wheel | 2+ to 6+ years | Ø120–200, height 70–220 | 6–10 children |
| Single‑player spinner / rocker | 2+ years | 60×60×90 to 95×80×160 | 1 child |
| Multi‑person outdoor seesaw | 3+ years | 300–320×39–110, height 72–97 | 2–10 children |
| Spring rider (animal / vehicle) | 2+ years | 60–99×35–39×79–110 | 1 child |
| Playground slide (straight / tunnel) | 2–12 years | Variable, dependent on height and slope | 1–2 children |
How to Match Equipment to Age Groups and Site Capacity
Most playground sites serve a mix of toddlers, preschoolers, and school-age children. Designing with distinct zones avoids crowding and lets each age group play safely. For the 2‑to‑5‑year‑old group, low‑height equipment with handrails, such as small spring riders and mini slides, works best. For 5‑to‑12‑year‑olds, more complex structures like taller spinners, rope climbers, and longer slides offer appropriate challenge. In community park projects, we often place high‑activity pieces toward the center while keeping quieter, smaller‑scale equipment near seating areas and entries, which naturally separates age zones without excessive fencing.
Work with Your Manufacturer to Plan the Equipment Layout
Once you have a site assessment and a shortlist of equipment types, active collaboration with the manufacturer transforms rough ideas into a precise, buildable plan. Many buyers underestimate how much technical input a manufacturer can offer at this stage. Manufacturers work with modular dimensions, standard safety radii, and production constraints daily, and they can quickly identify layout conflicts that might otherwise surface only during installation.
Share your site sketch, desired equipment list, and any special requirements—such as shade sails, themed elements, or accessibility ramps—and request a preliminary 3D layout. A manufacturer that offers free design services can accelerate this step. At Suzhou LvDong, we use site dimensions and equipment specifications from our product library to generate a scaled 3D layout that includes fall zones, impact areas, and pedestrian circulation paths. This visual output lets you see exactly how each piece fits and whether the overall flow supports natural supervision.
If your program involves steep slopes or irregular boundaries, it is worth confirming early how the manufacturer handles custom support structures and whether additional civil work will be needed. Share your timeline and we will confirm stock availability and any lead‑time impacts before the layout is finalized—reach out at [email protected].
What Information Should You Send for Layout Planning
A complete briefing package from the buyer usually includes the site plan with measurements, the target age range, the number of expected users, any facility‑specific requirements such as noise limits in hospital grounds, and the project schedule. Photographs showing existing features help too. With this data, the manufacturer can produce a realistic layout, not a generic one, and the back‑and‑forth reduces to minor adjustments rather than major redesigns.
Finalize Spacing, Safety Clearances, and Surfacing
After the equipment positions are set, the next step is to verify that safety clearances and surfacing meet applicable standards. Under EN 1176, each piece of equipment has a defined fall zone that extends a minimum of 1.5 meters beyond the footprint of elevated components, plus additional space for dynamic movement on swings and spinners. Equipment must not overlap fall zones, and the impact‑attenuating surface, whether engineered wood fiber, rubber tiles, or poured‑in‑place rubber, needs to match the maximum free fall height of each structure.
For a multi‑person seesaw with a fall height of 60 cm, a moderately deep surface might be enough, but a spinning wheel with a fall height of 77 cm may require a thicker or higher‑performance surface. In projects where space is tight and standard clearances cannot be met, the manufacturer can suggest equipment models with smaller dynamic envelopes or reconfigure the arrangement to maintain compliance. Accepting a non‑compliant layout should never be an option, and a manufacturer committed to EN 1176 or GB/T 34272‑2017 will decline to ship a plan that fails safety review.
What Are the Minimum Safety Clearances Between Different Types of Equipment
The minimum horizontal distance between two adjacent structures is typically the sum of both fall zones if they are independent, but some equipment designed as a composite unit can share a common impact area. For example, a slide exit area next to a spring rider requires separate use zones unless the structures are manufactured as a single integrated set. The exact measurements depend on the critical fall height and the dynamic nature of the equipment—swings need more clearance than static climbers. Always ask the manufacturer to mark use zones on the layout drawing so you can present them to safety inspectors and surfacing contractors.
Prepare for Installation and Long-Term Maintenance
A well‑planned layout also accounts for how the equipment will be installed and maintained over its service life. Equipment with large footprints, such as tunnel slides or multi‑player spinners, may require crane access, so the layout should include a temporary access path. Anchoring requirements vary by equipment type and ground surface; a spring rider with a small base can be set with a single installer in about half an hour, while a large spinning wheel needs a more extensive foundation and longer installation time.
Planning for periodic inspection is just as important. Every playground should have a simple maintenance calendar that covers bolt tightening, bearing lubrication, paint touch‑ups, and surfacing level checks. I’ve seen playgrounds where a lack of maintenance access meant that a minor rusty joint turned into a structural issue simply because the crew could not reach it easily. When you review the final layout with the manufacturer, confirm that each piece has at least one meter of unobstructed clearance around it for routine tasks and that spare‑part availability is documented.
Getting the Layout That Works for Your Project
Many playground projects face the same hidden risk: a layout that looks good on paper turns out to be incompatible with the site, the equipment, or the safety code. The solution is to engage the manufacturer before the design is locked, using their dimensional data, compliance checks, and installation knowledge to refine the plan. For a free preliminary layout and a safety assessment based on your site dimensions, send your space requirements and equipment preferences to [email protected] or reach us on WhatsApp at +8613915684545.
Common Layout Questions from Playground Project Owners
How long does it take to receive a custom playground layout from a manufacturer?
Turnaround depends on project complexity and the manufacturer’s current workload, but a standard preliminary 3D layout for a community park or school usually takes three to five business days once the complete site brief is received. Complex sites with multiple contours, special themes, or integrated shade structures may require an extra week for engineering review. Always ask for a committed delivery date during your initial inquiry so you can align it with your own project schedule.
Can I use my own site sketch as the basis for the layout plan?
Yes, a clear hand‑drawn sketch with accurate dimensions, north arrow, slope indications, and notes about underground utilities is a perfectly usable starting point. The manufacturer will digitize it and overlay equipment footprints at the correct scale. Just make sure the measurements are reliable; a tape‑measure error of even half a meter can force a complete layout revision later, so consider a professional topographical survey for large or irregular sites.
What if my site has slopes or irregular boundaries?
Sloping sites often require stepped platforms, retaining walls, or custom‑height support posts to keep equipment level. A manufacturer experienced in dealing with uneven terrain can propose layout adjustments that work with the natural grade rather than against it, potentially saving the cost of major earthworks. I’ve seen sloped sites successfully turned into tiered playgrounds where slides start from the high side and climbing features follow the slope downhill, which also adds visual interest.
Does the manufacturer provide 3D renderings with the layout plan?
Most quality‑focused playground equipment manufacturers include a basic 3D rendered layout as part of the pre‑order service. The rendering typically shows equipment placements, fall zones, surfacing boundaries, and pedestrian paths, giving stakeholders a realistic view of the final result. If photo‑realistic renderings for funding approval or community presentation are needed, ask early—these may carry a separate fee or require more time.
Who ensures that the final layout meets safety standards before installation?
The manufacturer is responsible for delivering equipment that complies with applicable standards, and part of that commitment is verifying that the proposed layout meets spacing and fall‑zone requirements. When you receive the layout drawing, confirm that it includes use‑zone dimensions and a statement of compliance to EN 1176 or the equivalent national standard. If you have a third‑party safety inspector on your project, sharing the layout with them at this stage prevents surprises. Once installation is complete, a post‑install inspection remains the owner’s responsibility. If your program has specific compliance documentation needs, share your requirements with the manufacturer early to confirm they can be met.
If you’re interested, check out these related articles:
Choosing a Soft Play Specialist Indoor Playground Equipment Expertise
Kindergarten Outdoor Play Equipment Strategic Upgrade Priorities
Eco Friendly Playground Equipment SGS REACH RoHS Standards Explained
Playground Turntable Safety EN1176 vs ASTM Standards Unpacked
Factory Visit Checklist Playground Equipment Supplier Evaluation